How to Install and Replace Exterior Door Casing: A Step-by-Step Guide
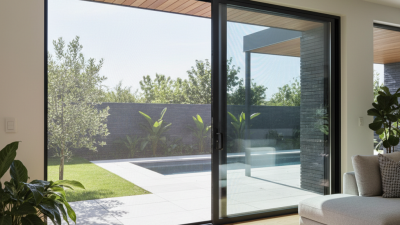
In the realm of home improvement, few projects convey a sense of accomplishment quite like installing or replacing the exterior door casing. This often-overlooked element is crucial for both aesthetic appeal and functional integrity, serving as the transition between the door and the home’s exterior. Properly fitted exterior door casing not only enhances the visual charm of your entryway but also plays a vital role in providing insulation and protection against the elements.
Whether you're upgrading the look of your home or addressing wear and tear, understanding the step-by-step process involved in this task can empower you to realize your vision with confidence. This guide will walk you through the essentials of installing and replacing exterior door casing, ensuring you choose the right materials and techniques that will enhance both durability and style. From measuring accurately to securing the final trim, each step is designed to help you achieve a polished finish, transforming your entryway into an inviting focal point of your home.
Choosing the Right Exterior Door Casing Materials for Longevity
When selecting exterior door casing materials, longevity is a crucial factor that can significantly impact maintenance costs and the overall lifespan of the door installation. According to a report by the National Association of Home Builders, integrating quality materials can reduce replacement frequency by up to 30%. This statistic emphasizes the importance of carefully choosing materials that can withstand various weather conditions, resist decay, and maintain their structural integrity over time.
Wood, vinyl, and composite materials are among the most popular choices for exterior door casing. Each material offers unique benefits; for instance, while wood provides a classic aesthetic, it may require regular maintenance to prevent rot and warping. In contrast, vinyl casings, which have been shown to require 60% less maintenance than wood, can offer better resistance to moisture and insects. A study from the American Society of Interior Designers noted that composite materials, which blend wood fibers with plastic, often deliver the best of both worlds—offering aesthetics similar to wood with enhanced durability and lower maintenance needs. When making a selection, it's essential to weigh these factors against local climate conditions and the specific needs of the home, as investing in the right casing material can lead to significant long-term benefits.
Tools and Equipment Needed for Installing Exterior Door Casing
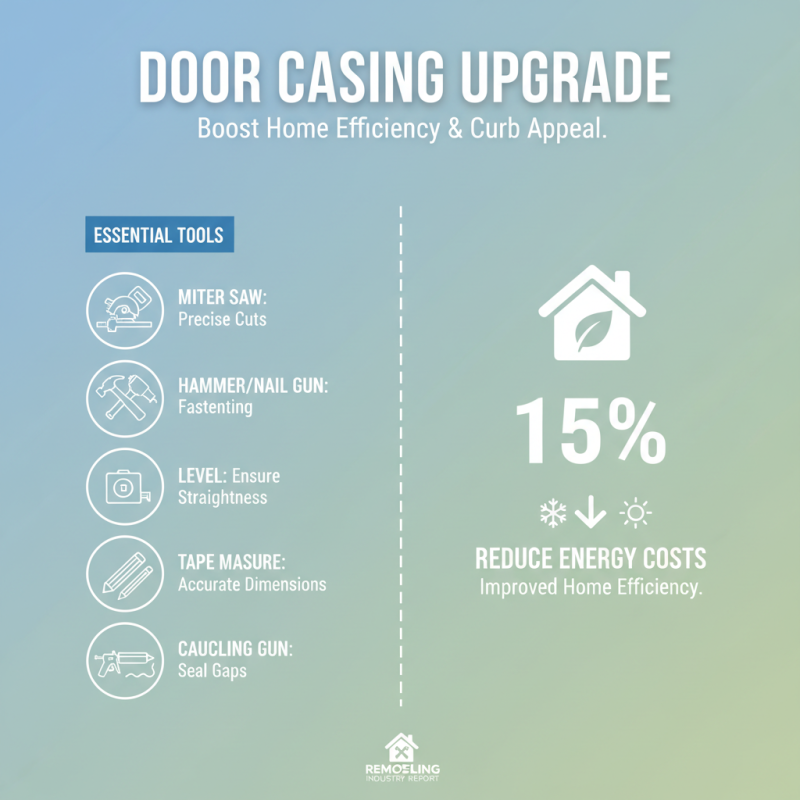
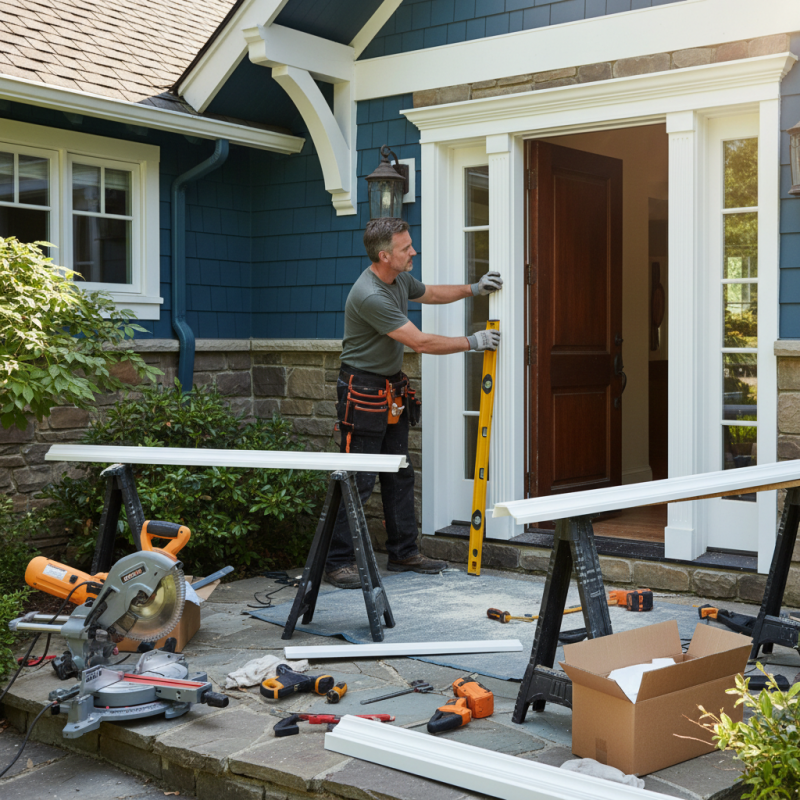
When installing or replacing exterior door casing, having the right tools and equipment is crucial for a successful project. Essential tools include a miter saw for making precise cuts, a hammer or nail gun for fastening, a level to ensure the casing is straight, and a tape measure for accurate dimensions. Additional equipment like a caulking gun can help seal gaps, preventing moisture from entering and potentially damaging the door frame. According to a report by the Remodeling Industry, properly installed exterior door casings can improve a home's energy efficiency, reducing heating and cooling costs by up to 15%.
To ensure a smooth installation process, consider these tips: Before beginning, measure the door frame carefully and double-check your calculations to avoid costly mistakes. Use a miter saw for clean angles on the casing, especially for corners, as this will give a polished finish. Additionally, pre-drilling holes can prevent the wood from splitting and result in a more durable bond—especially crucial in areas with fluctuating weather conditions.
Remember that preparation is key. Always have your materials ready, including suitable wood species that can withstand outdoor elements, as poor material choices may lead to premature wear or mildew growth. Investing in quality tools will not only make installation easier but also improve the longevity of the casing. Maintaining the exterior door casing through regular inspections and touch-ups can further enhance your door’s performance and aesthetics for years to come.
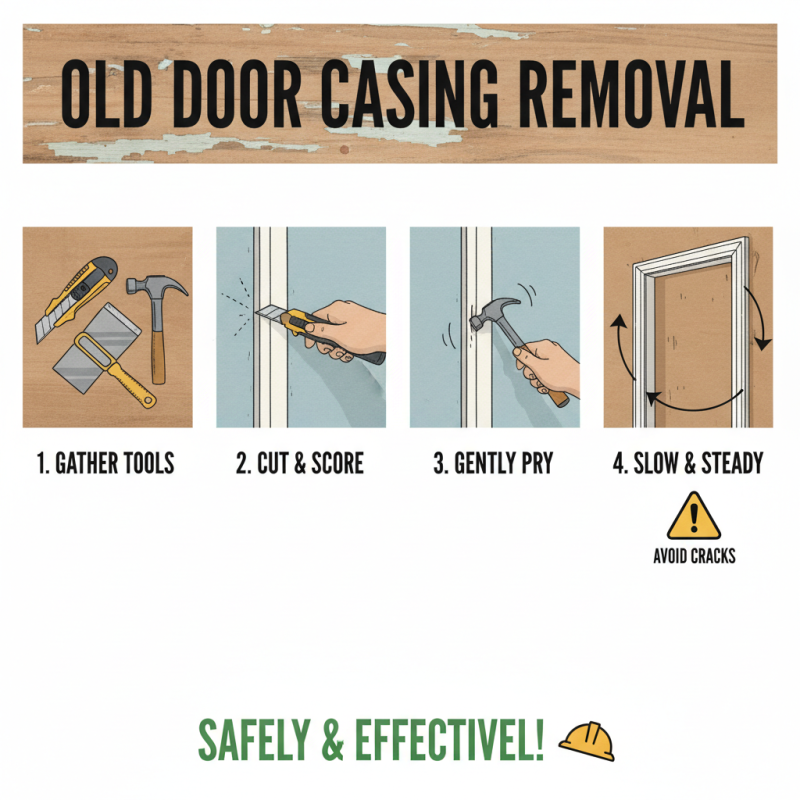
Step-by-Step Process for Removing Old Door Casing Safely
Removing old door casing can be a meticulous task, but with the right approach, you can do it safely and effectively. Begin by gathering the necessary tools: a utility knife, pry bar, hammer, and putty knife. Start by using the utility knife to cut through any paint or caulk around the casing. This will help to minimize damage to the surrounding wall and ensure a clean removal. After the cut is made, gently insert the pry bar between the casing and the wall, using the hammer to tap it in if necessary. Work your way around the casing, prying it loose slowly to avoid cracking or breaking the wood.
**Tips:** Always be cautious of hidden fasteners that might be holding the casing in place. If you encounter resistance while prying, double-check for screws or nails that may need to be removed first. Once the casing is free, inspect the wall for any damage that may require patching before installing new casing.
Once you have successfully removed the old casing, clean the area thoroughly. This includes removing any leftover adhesive or debris. If you plan to replace the casing with a new one, ensure that the surface is smooth and dry. A final inspection of the opening will help you prepare for the next steps in your installation process, ensuring a neat fit for the new casing.
**Tips:** Using a contact cement remover can help if you’re struggling with stubborn adhesive. Always wear safety goggles and gloves to protect yourself during this process to avoid any injuries.
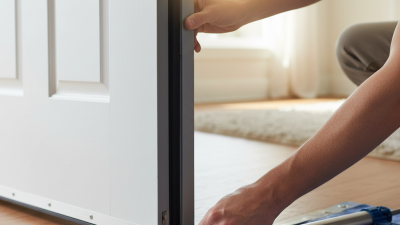
Installing New Exterior Door Casing: Techniques for a Flush Fit
Installing new exterior door casing requires precision and attention to detail to achieve a flush fit that enhances the overall appearance of your entryway.
Start by measuring the height and width of the door frame accurately. Cut your casing pieces to size, ensuring the top piece is slightly longer to create a seamless overlay on the ends of the side casings.
Using a miter saw, make clean, angled cuts at the corners, which will help in aligning the pieces neatly and eliminating any gaps.
When attaching the casing, use finishing nails to secure each piece into the framing beneath.
Begin with the top casing, followed by the side casings, adjusting them as needed for a snug fit.
Utilize a level to ensure each piece is straight and properly aligned. After installation, fill any nail holes or seams with wood filler and sand the area smooth.
This step not only provides a polished look but also prepares the surface for painting or staining, allowing the new casing to blend seamlessly with your home’s exterior.
By following these techniques, you can achieve a professional-looking installation that enhances your door's aesthetic appeal.
Finishing Touches: Sealing and Painting Your New Door Casing
After successfully installing your new exterior door casing, it’s essential to focus on the finishing touches that not only enhance the aesthetic appeal but also protect the casing from environmental elements. Start by sealing around the edges of the casing with a high-quality caulk. This step is crucial as it prevents moisture from seeping in, which can lead to warping or decay over time. Use a caulking gun to apply an even bead of caulk, ensuring you fill any gaps between the casing and the wall. Smooth the caulk with your finger or a caulking tool for a clean finish, and wipe away any excess with a damp cloth.
Once the caulk has dried, move on to painting the door casing. Choose a suitable exterior-grade paint that can withstand weather changes while maintaining color vibrancy. Before painting, lightly sand the surface to create a better bond between the paint and the casing. Apply a primer first, especially if the wood is untreated or if you’re making a significant color change. After the primer has dried, proceed with the paint application, using a brush or roller for smooth, even coverage. Aim for at least two coats, allowing sufficient drying time between each application for the best results. The final touch will not only enhance the look of your exterior but also ensure your door casing remains durable and protected for years to come.
How to Install and Replace Exterior Door Casing: A Step-by-Step Guide
| Step Number |
Task |
Materials Needed |
Estimated Time |
| 1 |
Remove Old Casing |
Pry bar, hammer |
15 minutes |
| 2 |
Measure New Casing |
Tape measure, pencil |
10 minutes |
| 3 |
Cut New Casing |
Miter saw |
20 minutes |
| 4 |
Attach New Casing |
Nails, hammer |
30 minutes |
| 5 |
Seal and Paint |
Caulk, paint, paintbrush |
1 hour |