Top 10 Tips to Render Photoshop for Stunning Architecture?
In today's digital age, the ability to render photoshop architecture effectively can make or break a project. Enhancing architectural visuals demands a deep understanding of tools and techniques. With the right skills, professionals can create stunning representations of their designs. However, mastering these tools is not always straightforward. Many artists struggle with achieving realistic lighting, texture application, and perspective.
The process often requires relentless practice and a willingness to learn from mistakes. Each project presents unique challenges that can spark creativity, but also moments of frustration. Embracing these imperfections can lead to unexpected breakthroughs. Therefore, those seeking to excel in render Photoshop architecture must navigate through trial and error. This journey, albeit tough, ultimately enriches one's skills and vision. By focusing on ten essential tips, artists can elevate their work and gain confidence in their rendering abilities. With dedication and patience, transforming architectural ideas into breathtaking visuals becomes achievable.
Essential Tools and Settings for Photoshop Rendering
Rendering architecture in Photoshop requires the right tools and settings. Start with adjusting your document size. A higher resolution enhances clarity, especially for detailed designs. Use a canvas size of at least 300 DPI for print quality. This can help maintain sharpness, but can slow down your workflow.
Layer management is another key aspect. Organize your layers into groups. This keeps your workspace tidy. It helps you focus on specific sections of your design. Utilize layer masks to blend elements seamlessly. Masks allow for non-destructive editing, which is crucial for iterative design processes.
Experiment with adjustment layers. These layers tweak brightness, contrast, and color without altering the original images. Try using the Camera Raw filter for more refined adjustments. Sometimes, the default settings can be too harsh, requiring manual refinements to achieve a natural look. Don’t hesitate to create mistakes and learn from them—each rendering can teach you something new.
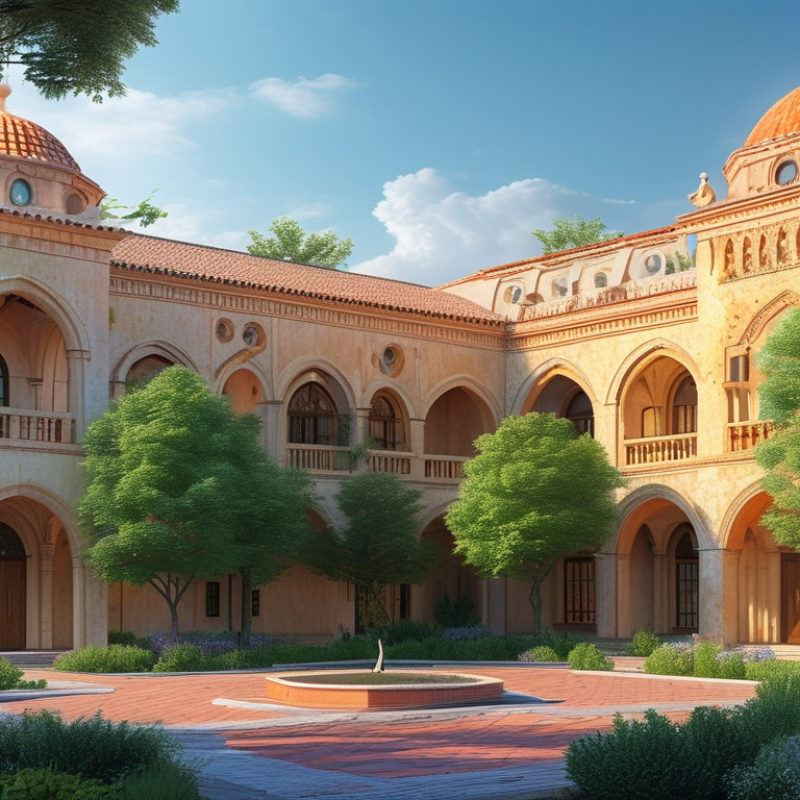
Understanding Lighting Techniques for Architectural Design
When it comes to architectural design, lighting techniques play a crucial role. Proper lighting can transform a simple structure into a stunning visual masterpiece. One effective method is to use natural light. Position your models near windows or openings to highlight their features. This technique not only enhances realism but also adds depth.
Incorporating shadows into your renderings is essential. Shadows create a sense of space and dimension. They can dramatically alter the mood of your design. Experimenting with different light sources can help you find the right effect. Use soft light for a cozy atmosphere or harsh light for a dramatic look.
Consider using artificial lights as well. Spotlights can be used to focus attention on specific areas. Ambient lighting sets a general mood and can fill darker spaces. Pay attention to the color temperature of your lights. Warm tones can create inviting spaces, while cooler tones can convey modernity.
Keep in mind that too much light can wash out details. Reflect on the balance between light and shadow to achieve stunning results.
Utilizing Textures and Materials to Enhance Realism
Textures and materials play a crucial role in architectural visualization. They can make or break the realism of a render. According to a report by the Journal of Architectural Visualization, nearly 70% of viewers judge a design's functionality based on texture application. This highlights the importance of selecting appropriate textures that reflect light and shadow convincingly.
Using high-resolution textures is essential. For instance, brick and wood surfaces require unique detailing to achieve authenticity. Observing real-world materials can guide artists in creating these textures. Textures should not appear overly perfect; a slight imperfection can enhance realism. Subtle wear and tear can suggest a building's history, while uniformity often feels artificial.
Experimenting with materials allows for a personalized touch in designs. Artists should explore variations in glossiness and transparency. A recent study in digital design indicated that viewers favor materials that tell a story. Utilizing layered textures can create depth, but care is needed. Overly complex textures may lead to visual clutter. Balancing simplicity and detail is key.
Strategies for Composing Dynamic Architectural Scenes
When composing dynamic architectural scenes, consider the principles that elevate a rendering from ordinary to stunning. One key aspect is to create a strong focal point. This draws the eye and enhances depth. According to a recent report by the American Institute of Architects, projects that emphasize unique features can see an increase in engagement by up to 40%.
A well-composed scene often incorporates varied textures and materials. This adds visual interest and realism. Mixing materials can create contrast, highlighting the architectural elements effectively. Pay attention to lighting as well; it can transform the mood and enhance the details. Using realistic shadows can ground your rendering, resulting in a more believable and immersive space.
Tip: Experiment with different perspectives. A low-angle shot can convey grandeur and make a structure appear more imposing. Adjusting the viewpoint can alter the viewer's perception dramatically. Remember, less can be more. Overcrowding a scene can lead to confusion, detracting from the architecture itself. Aim for balance, leaving some areas open to allow the viewer's imagination to fill in the gaps.
Tips for Post-Processing to Achieve Stunning Effects
Post-processing in Photoshop can elevate architectural images to new heights. Start by adjusting the contrast and brightness. These basic tweaks can highlight essential details. The right balance makes textures pop. Consider enhancing colors as well. Use the vibrance tool to avoid oversaturation, which can compromise realism.
Shadows play a crucial role in creating depth. Carefully refine shadows using layers. This technique can lead to a more dynamic appearance. Don't overlook the power of selective sharpening. It draws attention to specific elements, making them stand out. On the other hand, excessive sharpening can create noise, so moderation is key.
Additionally, experimenting with filters can provide interesting effects. For example, a subtle vignette can draw focus to the center of an image. However, relying too heavily on filters may lead to a loss of authenticity. Always reflect on your choices. Take a step back and assess whether your adjustments enhance or detract from the architectural essence.